Sometimes, individuals wish to register their firearms despite there being no lawful obligation to do so. For those individuals, below is a detailed guide on navigating the California Firearms Application Reporting System (CFARS) for voluntary firearm registration in California, as requested. This includes step-by-step instructions for using CFARS, specific guidance on the online process, a summary of the law, benefits and drawbacks of voluntary registration and non-registration.
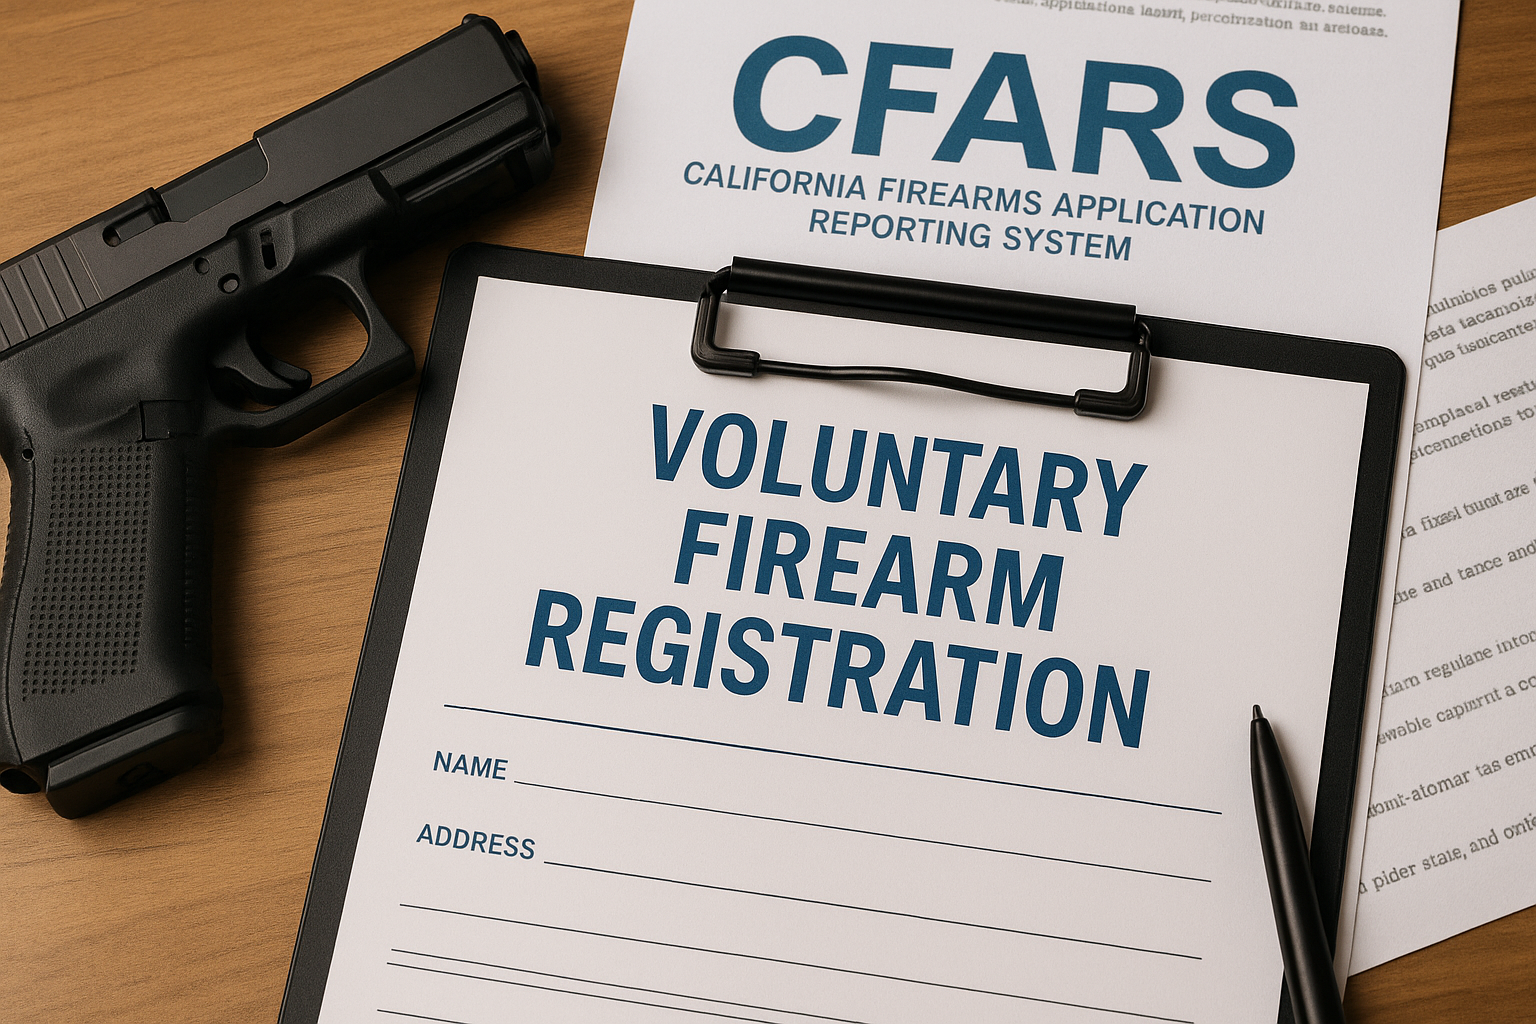
California Voluntary Firearm Registration via CFARS
Summary of the Law
California permits individuals to voluntarily register firearms not mandated for registration (e.g., certain rifles, shotguns, or firearms acquired before Dealer Record of Sale (DROS) requirements) to document ownership in the Automated Firearms System (AFS). This process is managed exclusively through the CFARS online portal by the California Department of Justice (DOJ) Bureau of Firearms. Voluntary registration establishes legal ownership, aids law enforcement in tracing firearms, and simplifies transfers or inheritance.
Benefits of Voluntary Registration
- Proof of Ownership: AFS record confirms ownership, useful for theft recovery or disputes.
- Law Enforcement Aid: Enhances tracing and recovery of stolen firearms.
- Legal Clarity: Reduces scrutiny during inspections or transfers by documenting compliance.
- Transfer Ease: Simplifies passing firearms to heirs or legal transfers.
Drawbacks of Voluntary Registration
- Privacy Concerns: Creates a government record, which may worry privacy-focused individuals.
- Time and Fees: Requires navigating CFARS and paying ~$19 per transaction.
- Data Risks: Perceived (rare) risk of data misuse or breaches.
- Limited Benefit: May be unnecessary for secure, undisputed firearms.
- Confiscation: Historically speaking, registration could lead to confiscation.
Benefits of Not Registering
- Privacy: Keeps ownership private, avoiding government records.
- No Hassle: Avoids CFARS process and fees.
- Flexibility: Informal transfers (where legal) may be simpler, though risky.
- Cost Savings: Eliminates registration fees.
Drawbacks of Not Registering
- No Documentation: Complicates proving ownership or recovering stolen firearms.
- Legal Risks: May raise issues during law enforcement checks or future law changes.
- Theft Recovery: Unregistered firearms are harder to trace, reducing recovery chances.
- Inheritance Issues: Lack of records can create legal hurdles for heirs.
Step-by-Step Process for Voluntary Registration via CFARS
Overview
Voluntary registration is completed entirely online through the CFARS portal (cfars.doj.ca.gov). The process involves creating a CFARS account, submitting an online form (equivalent to the former BOF 1008), uploading documents, paying a fee, and tracking the application. Below is a detailed guide to navigating CFARS, including specific instructions for each step.
Step 1: Prepare for Registration
- Verify Firearm Eligibility:
- Confirm the firearm is legally owned and not prohibited (e.g., not an assault weapon per California law; see Penal Code § 30510–30530).
- Ensure it’s not already registered via DROS or other mandatory processes (check prior purchase records or perform an AFS Record Check if unsure).
- Gather Required Information:
- Firearm Details: Make, model, caliber, serial number, type (e.g., handgun, rifle, shotgun).
- Personal Details: Full name, address, date of birth, California driver’s license/ID number.
- Proof of Residency: Digital files (PDF or image) of a utility bill, lease agreement, government-issued ID with current address, or other DOJ-accepted document (see oag.ca.gov/firearms for a full list).
- Ensure Technical Requirements:
- Use a reliable internet connection and a compatible browser (e.g., Chrome, Firefox, or Edge).
- Have a valid email address for account creation and notifications.
- Prepare a credit/debit card for the fee payment (~$19, subject to change).
Step 2: Access and Set Up CFARS
- Visit CFARS:
- Create a CFARS Account (if you don’t have one):
- Click “Register” or “Create an Account” on the CFARS homepage.
- Enter:
- Full name (matching your ID).
- Email address (used for login and notifications).
- Phone number (optional but recommended for recovery).
- California driver’s license/ID number.
- Current residential address.
- Create a strong password (at least 8 characters, including letters, numbers, and symbols).
- Agree to the terms of service and submit.
- Check your email for a verification link, click it to activate your account, and log in.
- Log In (if you have an account):
- Enter your email and password.
- If you forgot your password, use the “Forgot Password” link to reset via email.
- Troubleshooting Tips:
- If the verification email doesn’t arrive, check your spam/junk folder.
- If you encounter login issues, clear your browser cache or try a different browser.
- Contact CFARS support via the portal’s “Help” section or call DOJ at (916) 210-2300 if issues persist.
Step 3: Start the Voluntary Registration Application
- Navigate to Voluntary Registration:
- Once logged in, locate the CFARS dashboard (main menu).
- Select “Voluntary Registration of Firearms” from the list of services.
- Begin the Online Form:
- The form (integrated into CFARS, replacing the paper BOF 1008) will prompt you to enter:
- Personal Information:
- Full name, address, date of birth, driver’s license/ID number.
- Contact details (email, phone).
- Firearm Information (for each firearm):
- Type (e.g., handgun, rifle, shotgun).
- Make (manufacturer).
- Model.
- Caliber.
- Serial number (double-check for accuracy).
- Acquisition details (e.g., approximate date and method of acquisition, if known).
- Add multiple firearms in one transaction if needed (each may incur a fee).
- Upload Proof of Residency:
- Follow prompts to upload digital files (PDF, JPEG, or PNG) of residency documents.
- Ensure files are clear, legible, and under the size limit (typically 10 MB; check CFARS instructions).
- Examples: Utility bill (dated within 90 days), lease agreement, or ID with current address.
- Tips for Form Completion:
- Save your progress frequently using the “Save” button to avoid losing data.
- Double-check serial numbers and personal details, as errors can cause rejections.
- If unsure about firearm details, consult the firearm’s markings or documentation.
Step 4: Review and Pay the Fee
- Review the Application:
- CFARS will display a summary of your entries.
- Verify all fields (personal info, firearm details, uploaded documents).
- Edit any errors before submission.
- Pay the Registration Fee:
- The fee is approximately $19 per transaction (not per firearm, but confirm on CFARS).
- Select a payment method (credit/debit card or other accepted options).
- Enter payment details and submit.
- Save the payment confirmation or note the transaction ID.
- Fee Notes:
- Fees are non-refundable, even if the application is rejected.
- Check oag.ca.gov/firearms or CFARS for the latest fee schedule.
Step 5: Submit the Application
- Finalize Submission:
- Click “Submit” after reviewing and paying.
- You’ll receive an on-screen confirmation and an email with a reference number (e.g., application ID).
- Save Confirmation:
- Download or screenshot the confirmation page.
- Save the reference number for tracking.
- Troubleshooting:
- If submission fails, check for error messages (e.g., missing fields or invalid uploads).
- Ensure your internet connection is stable.
- Contact CFARS support if the issue persists.
Step 6: Track and Await Processing
- Monitor Application Status:
- Log back into CFARS and go to “My Applications” or “Application Status.”
- Enter your reference number or view your submission history.
- Status updates may include “Pending,” “Under Review,” or “Approved.”
- Processing Time:
- Typically 4–8 weeks, depending on DOJ workload.
- Delays may occur if documents are incomplete or unclear.
- Respond to DOJ Requests:
- If the DOJ needs clarification (e.g., missing serial number or residency proof), they’ll notify you via CFARS or email.
- Log in, provide the requested information, and resubmit promptly.
- Receive Confirmation:
- Upon approval, you’ll get a notification (via CFARS or email) with the AFS record number.
- Save this confirmation as proof of registration.
Step 7: Maintain Records and Updates
- Store Confirmation:
- Keep the AFS record number and confirmation (digital or printed) in a safe place.
- This serves as proof of registration for theft, transfer, or legal purposes.
I
Discover more from THE DAVIS LAW FIRM | (866) 545-GUNS
Subscribe to get the latest posts sent to your email.